
Technical guide · Technical Resources
Standard vs High-Shrinkage PVA Filament: Trial Plan
The 2026 catalog lists standard and high-shrinkage PVA filament as separate 80°C-group options. Learn how to write the material's job, measure a controlled dimensional response, separate that result from removal, and approve the complete process route without treating a catalog label as a recipe.
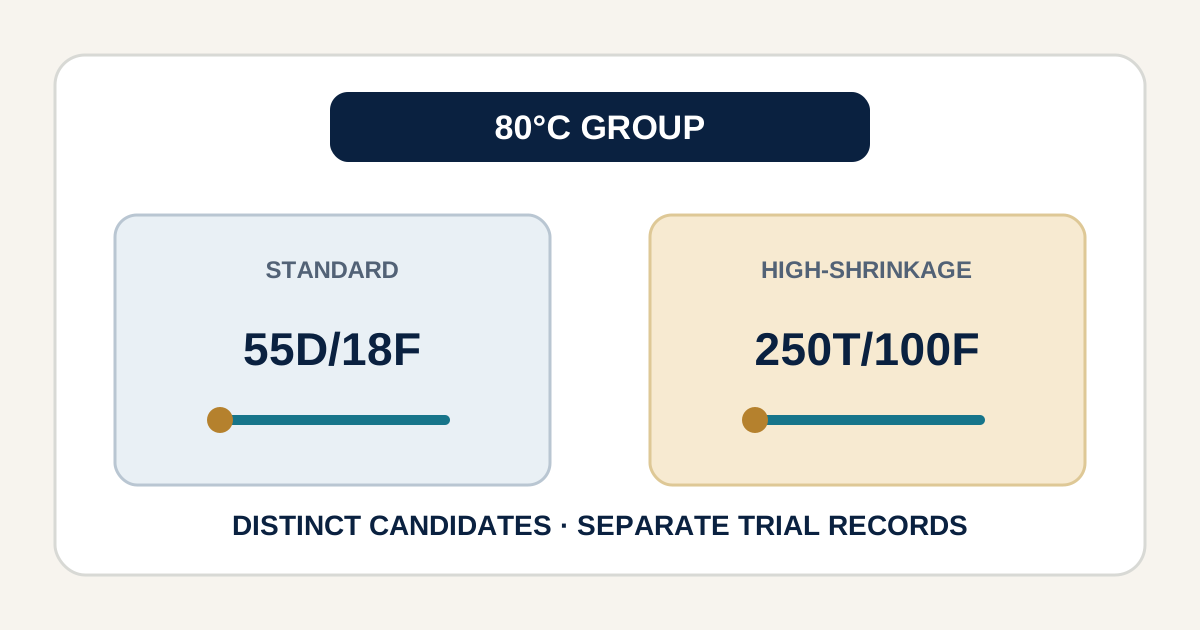
Keep the standard and high-shrinkage groups separate
The 2026 catalog lists both a standard PVA filament and a high-shrinkage PVA filament in its 80°C group. They are separate product options, with different model codes: 55D/18F appears in the standard group, while 250T/100F appears in the high-shrinkage group. Do not treat the shared temperature label as proof that the materials have the same purpose, construction, dimensional response, or removal behavior.
The 80°C label on a high-shrinkage option is not a guarantee that the filament shrinks at a particular temperature or dissolves at 80°C. The catalog identifies a product group; it does not provide a complete heat-treatment recipe or a quantified shrinkage result. Ask for the current written specification, state the production exposure, and evaluate the chosen material in the construction that will use it.
| Catalog group | Listed model | How to use the listing |
|---|---|---|
| Standard filament, 80°C group | 55D/18F | Confirm the model and its role in the written specification |
| High-shrinkage filament, 80°C group | 250T/100F | Confirm the model, unit convention, and requested dimensional function |
Check the current PVA filament specification and retain the model exactly as listed. The buyer's brief should define what the filament needs to do at each process stage.
Write the material's job before setting a heat trial
Start with the function, not the temperature number. Is the filament expected to hold a shape during a defined operation, change a dimension after heat exposure, or remain available for a later removal step? Write down the component it supports, the direction and location of the intended dimensional change if one is needed, and the stage where the supporting function may end. A phrase such as “high-shrink” does not specify a target value, uniformity, timing, or what the finished textile must look like.
- Mark where the filament sits and what it is intended to support or modify.
- List the full sequence of dry, heated, wet, and mechanical stages before removal or finishing.
- State the reference length or dimensions and the way each specimen will be held during measurement.
- Separate the desired dimensional result from the removal endpoint and the finished-fabric checks.
- Agree what result is acceptable before the first specimen is processed.
This brief determines which observations belong in the trial. A length change measured on a free filament, for instance, does not automatically predict how a constrained strand will alter a fabric. Record the mounting, restraint, load, moisture, and contact conditions that are part of the real process, then reproduce the relevant ones in the sample route. If the process has several possible heat exposures, identify which one the trial is meant to evaluate instead of bundling them into one unexplained pass.
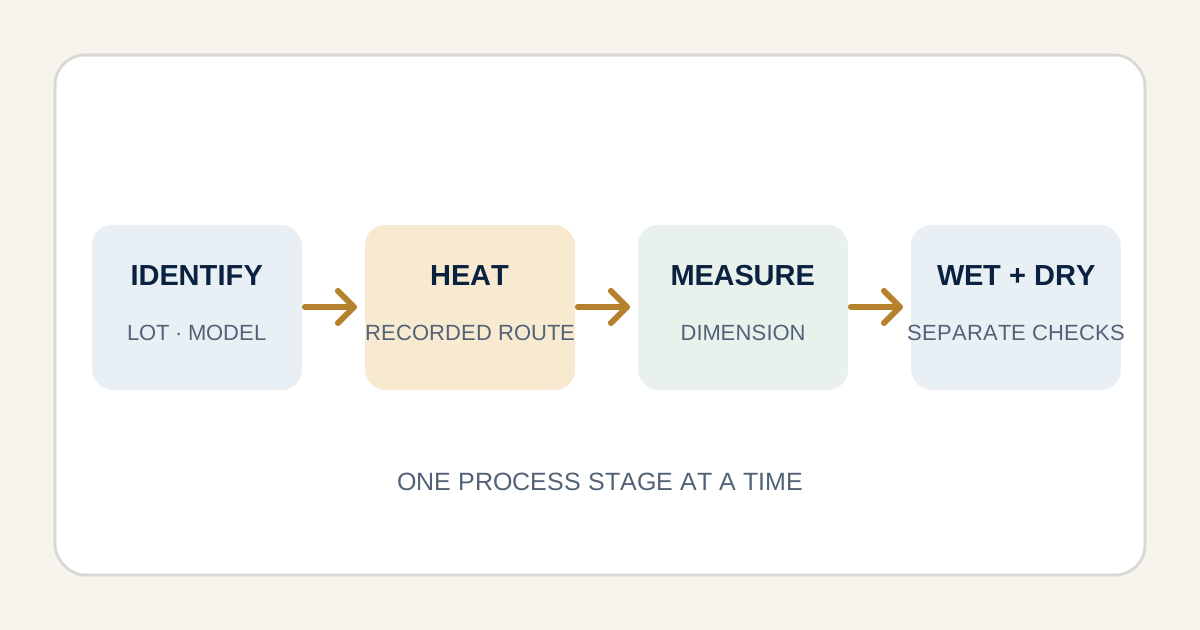
Build a baseline and a controlled comparison
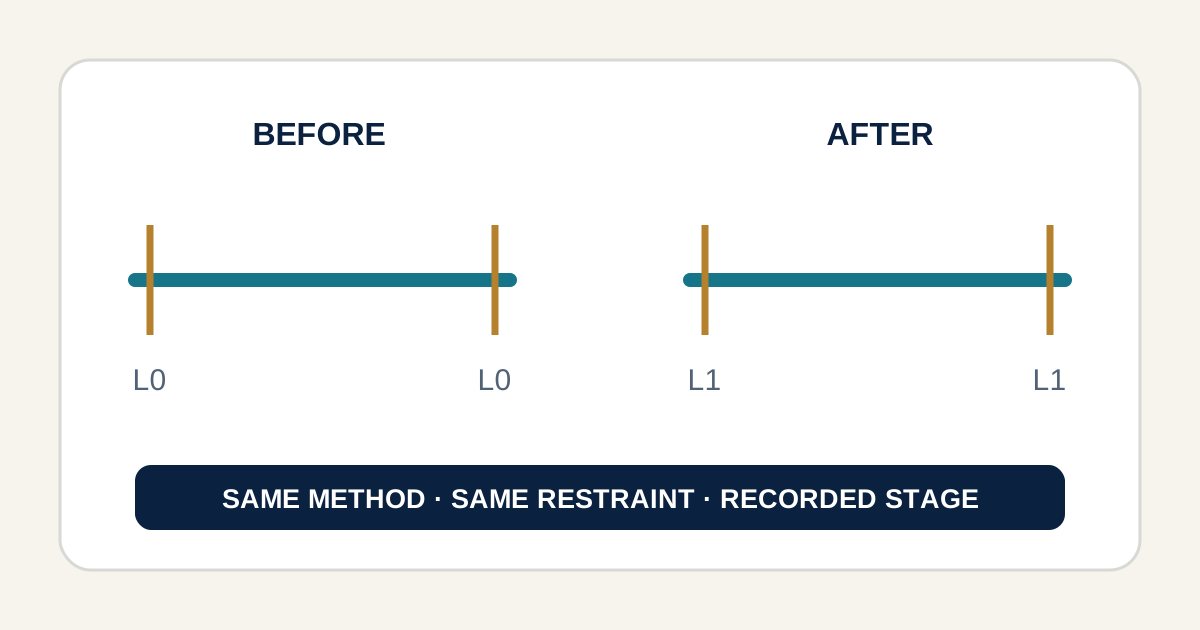
Identify each candidate, lot, package, and specimen before processing. Keep a retained, unprocessed specimen as the reference and write down how its dimensions are measured. Use defined marks or a fixture that can be repeated; record the initial gauge length, the restraint or load, and the measurement condition. If a textile construction is the intended use, include a representative section in addition to the free-filament check so the team can see how the assembly constrains the strand.
For a fair comparison, change one condition at a time within each candidate trial. Keep specimen size, preparation, machine path, tension, and measurement method fixed when evaluating a heat variable. Because the catalog's standard and high-shrinkage examples have different model notation and stated product groups, their difference is not a controlled one-variable comparison by itself. Test each against the written job and avoid attributing every observed difference to the high-shrinkage label alone.
A simple dimensional record can make the comparison interpretable. Mark a defined gauge length before exposure, measure it under the agreed restraint, then repeat the same measurement at the chosen checkpoint. If the plan reports percentage change, write the calculation once in the method: (final length − initial length) ÷ initial length × 100. For example, a marked 100 mm gauge that measures 94 mm after a hypothetical controlled stage gives −6% under that calculation. This arithmetic illustrates the method only; it is not a catalog result, target, or expected performance for either listed model.
State whether the number describes a free strand, a strand held under a specified restraint, or a dimension in the textile assembly. A free specimen and a constrained specimen answer different questions. Use separate labels and result rows, and do not average them together. If the intended function concerns spacing or shape in a fabric, the assembly result is the relevant observation to discuss; the free-strand measurement remains supporting context rather than a substitute for the application trial.
| Checkpoint | Record | Decision supported |
|---|---|---|
| Before exposure | Model, lot, specimen, initial dimensions, restraint, and method | Confirms what entered the trial |
| After each heat stage | Actual temperature history, duration, load, and dimensions | Shows when a change was observed |
| After wet processing | Bath conditions, visible material state, and agreed removal endpoint | Separates heat response from removal |
| After drying | Final dimensions, shape, appearance, and construction checks | Confirms the finished result rather than a wet snapshot |
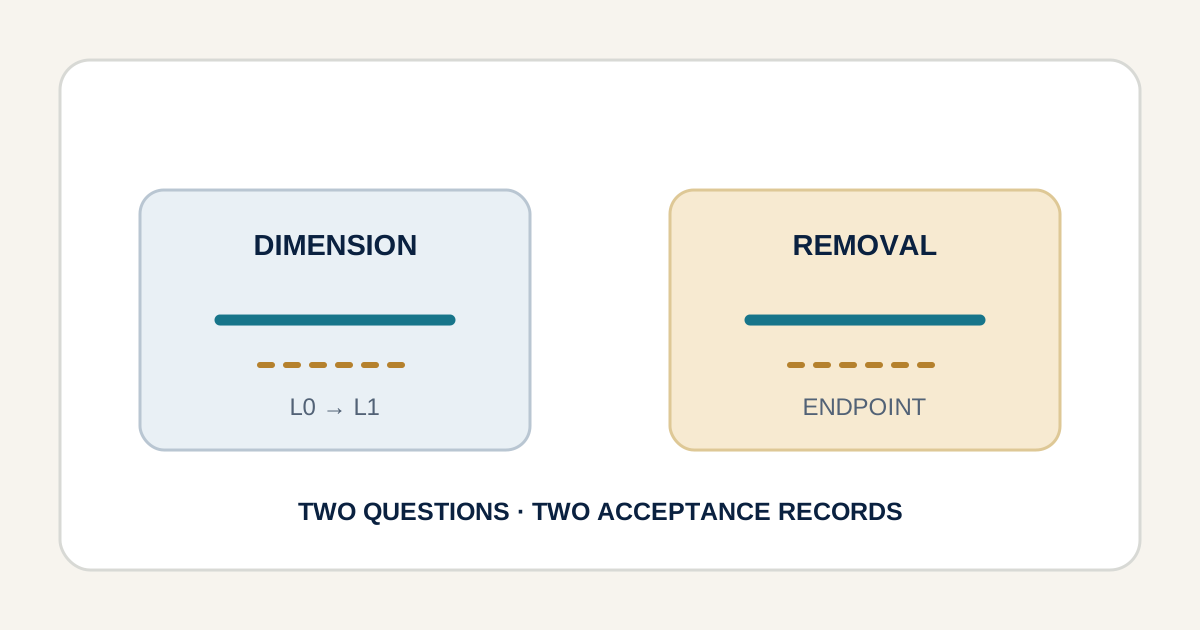
Separate dimensional change from removal
A shrinkage observation and a removal result are different outcomes. One describes a change in dimension under the recorded conditions; the other describes whether the temporary material reached the agreed removal endpoint. A material can change dimension without being removed, and a material can be removed without demonstrating the dimensional response the application needed. Keep the two records on separate lines so one result does not stand in for the other.
When the filament is meant to influence a textile structure, inspect the construction at the location where it was inserted. Look for the intended shape or spacing, any unintended distortion, and whether the rest of the fabric remains within the buyer's own finished-product criteria. Then run the proposed removal stage and inspect the article again after rinsing and drying. Do not infer whole-fabric behavior from a loose filament measured on a bench.
Separate the checkpoints on the traveler: dimensional observation after the relevant heat stage, support function before the material leaves, removal after the defined wet step, and retained-textile inspection after drying. If an article changes while wet but returns toward its earlier shape on drying, the wet-state note and dry-state result should both remain visible. If the strand disappears from view but the buyer's retained-fabric criterion fails, that is not a complete approval. The acceptance plan should say which stage controls each decision and who records it.
Investigate a result in a useful order
| Observation | First checks | Keep separate from |
|---|---|---|
| No measured dimensional change | Check the recorded exposure, restraint, specimen identity, and measurement repeatability | A conclusion about removal performance |
| Change varies across specimens | Review preparation, location, feed path, tension, and the measurement method | A single average that hides the spread |
| The construction changes but the free filament does not | Compare the strand path and restraint in the actual assembly | A claim that the loose specimen reproduced the fabric |
| Material remains after the wet stage | Review the selected grade, access to water, sequence, bath movement, and endpoint definition | An assumed failure caused only by heat exposure |
These checks are investigation prompts, not established causes. Preserve the specimen labels, conditions, and photographs; repeat the agreed method before changing the process. If the result still differs, change one controlled factor and record the new version of the trial. A useful report says what changed and what stayed fixed, so a later production review can distinguish an actual material comparison from two unrelated runs.
A practical review sequence is to verify the label and specimen first, reconstruct the actual time-and-temperature history second, and confirm the restraint and measurement method third. Only then compare the wet and dry observations or inspect the removal bath. This order catches identity and method mismatches before they are interpreted as a material response. Keep the original record when a method is corrected; append the repeat as a new run so the team can see which evidence supports the final decision.
Approve the whole route, not the label
A sample is ready for a production decision only when it has been tested through the sequence the article will actually experience. Confirm the strand can be fed and positioned, the dimensional result meets the defined requirement if one exists, the material remains functional for every stage where support is needed, and the removal step leaves the retained textile acceptable. Write the approval against the model, lot or reference sample, process revision, measurement method, and outcome criteria.
Use the sample-to-production test guide to structure the controlled trial, and review the PVA dissolution guide for the variables that affect a removal check. To request a candidate, send the written sequence with the sample request.
Frequently asked questions
Does 80°C mean the high-shrinkage filament shrinks at 80°C?
The catalog lists the high-shrinkage filament in its 80°C group, but that label does not state a measured shrinkage threshold. Ask for the current written specification and test the actual heat sequence.
Is high-shrinkage filament the same as soluble filament?
The catalog treats high-shrinkage as a separate product group from standard filament. Define and test dimensional change, support, removal, and final-fabric acceptance separately.
Can I compare the listed standard and high-shrinkage models directly?
They can be evaluated against the same process brief, but the examples have different model notation and product groups. A difference between them does not isolate one variable, so record each candidate's full construction and test conditions.
What should I measure after a heat stage?
Measure the dimensions relevant to the intended function using the written method and specimen restraint. Then evaluate wet removal and the dried textile as separate checkpoints.